
Rustic Eco Wedding at Reptacular Ranch
This eco-friendly wedding at Reptacular Ranch steals the show with its rustic vibes.


VENDORS
Planning, Design & Coordination: Opus Events Co
Photographer: Dearly Beloved Photography
Venue: Reptacular Ranch
Catering: Sabores Oaxaqueños
Boba Bar: Through Mist and Moss
Cake: Hayk’s Cake House
Composting: Compostable LA
Florist: Fibers & Florals
Rentals: MTB Event Rentals
DJ & Photo Booth: Second Song
Videographer: EverTwo Films
Mariachi Band: Mexicanissimo
Cold Sparklers: Ultra Event Group

Boho Eco Wedding in Newport Beach
This Jewish wedding prioritized sustainability for their relaxed beachside celebration.


VENDORS
Planning & Design: Opus Events Co
Photographer: Gina & Ryan Photography
Venue: Crystal Cove State Park
Coordination: Grounded Events
H&MU: TM's Makeup Artistry
Florist: Florally Yours
Rentals: Signature Party Rentals
DJ: Second Song
Catering Staff: Spare Hands
Bartending: Bottle Service
Composting: Compostable LA
Restroom Trailer: Luxury Flush
Transportation: EZ Vans
Accommodations & After Party: Hyatt Regency Newport Beach

Make Your Own Worm Compost
We’ll give you the down and dirty on compost, and walk you through the steps to create a worm compost at home.

Let’s give your trash a little eco-audit! Did you know that over 50% of your garbage is compostable? We’ll give you the down and dirty on compost, and walk you through the steps to create a worm compost at home.
WHAT IS COMPOST?
Compost is a soil conditioner that adds beneficial bacteria, fungi, and nutrients to soil, helps it retain moisture, and suppresses plant disease and pests.
HOW IS COMPOST MADE?
Remember back in elementary school when we learned about decomposers? Well decomposers, which include worms, bacteria, and fungus, eat organic material that might be “leftovers” from another organism and break them down into a simpler form that can be reused in the circle of life. The worms in our compost are vegans so they’ll be eating plant material and breaking it down into a form that can be used for new plant life.
WHY COMPOST?
Unfortunately, organic waste that goes to the landfill generates a greenhouse gas called methane, and methane is 84x worse for global warming than carbon dioxide! Compost on the other hand sequesters carbon, which means it has a large potential to offset carbon. Not to mention that the finished product, often referred to as “black gold,” is GREAT for your plants.
WHY WORM COMPOST?
Also known as vermiculture, worm composting has the smallest footprint. All you need is a storage bin, so it’s great for those who live in apartments or don’t have access to a yard. Plus worm castings are the most nutritious of all compost so you’ll never have to buy chemical fertilizers. Win win!
THINGS TO KNOW BEFORE STARTING
You will specifically need red worms for composting, otherwise known as red wrigglers. If you’re local in LA, we got ours for $18 from Mark the Compost Tea Guy at the Pasadena Farmer’s Market. He hooked us up with European red wrigglers, which supposedly are the hungry hungry hippos of worms. If you’re looking to order worms online, we’ve heard good things about Uncle Jim’s Worm Farm.
As for the location of your worm compost, make sure that you have a dark place between 54 to 84 degrees Farenheit to keep your bin. Outside is fine as long as the temperature requirements are met, it’s protected from rain, and it’s not sitting in direct sunlight.
DIY WORM COMPOST
WHAT YOU’LL NEED:
(2) 10-gallon plastic bins with lids
Drill with 1/4” bit and 1/16” bit
Shredded cardboard or newspaper (we recommend at least 2 issues)
Bucket with water, or a large spray bottle with water
A few handfuls of soil
1 pound of red worms
Small bin with a lid that you can place in the kitchen for scraps (a lid is important so that you don’t attract flies)
Optional: a trowel, tongs, or gloves if you’d rather not touch the worms or food scraps

(2) 10-gallon plastic bins with lids
Drill with 1/4” bit and 1/16” bit

soil
newspaper
spray bottle with water

Red Worms

Small Bin with Lid for Kitchen
DIRECTIONS
Drill at least (20) 1/4” holes on the bottom of both bins. This is for any liquid to drain, which should be minimal.
Drill 1/16” air holes along the top and bottom sides of both bins.
Drill 1/16” air holes in ONE of the lids. Leave the other lid untouched.
Stack everything together. The lid with no holes goes on the bottom, one of the bins goes in the middle, and the lid with air holes goes on top. The second bin can be stored away or stacked under the first bin. We’ll go into what it’s for later on.
Wet your shredded newspaper either by dunking it in a bucket or spraying it with a water bottle. Make sure to wring out any excess water, then fill your bin to a depth of 4”. You can also use cardboard, dried leaves, flowers, or grass clippings.
Mix in a couple handfuls of soil with your bedding to help the worms digest their food. PRO TIP: include some crushed cleaned egg shells in your soil.
Tuck your worm friends gently in a corner and let them get settled.
In a week, you can start feeding your worms. Start with a handful or two of scraps and ALWAYS bury it well, covering with some fresh wet newspaper if necessary so that flies don’t develop. Feed once a week and rotate corners so that you can observe if they’ve finished their food in one corner. You may need to adjust how often or the amount you feed them depending on how quickly they’re eating. You might also notice their preference for certain foods over others (maybe they’ll like blueberries?).
In 3 - 4 months or when you’ve noticed that the worms have gone through most of the bedding, stop feeding them and prep the second bin. Add fresh bedding and food scraps into the second bin, stack the second bin on top of the first bin, and cover with the lid. The worms will slowly move up into the second bin as they go in search for food, leaving behind an easy way to harvest the worm castings! If there is liquid collected in the bottom lid, you can use this to fertilize your plants too.

Drill 1/4” holes on the bottom of both bins
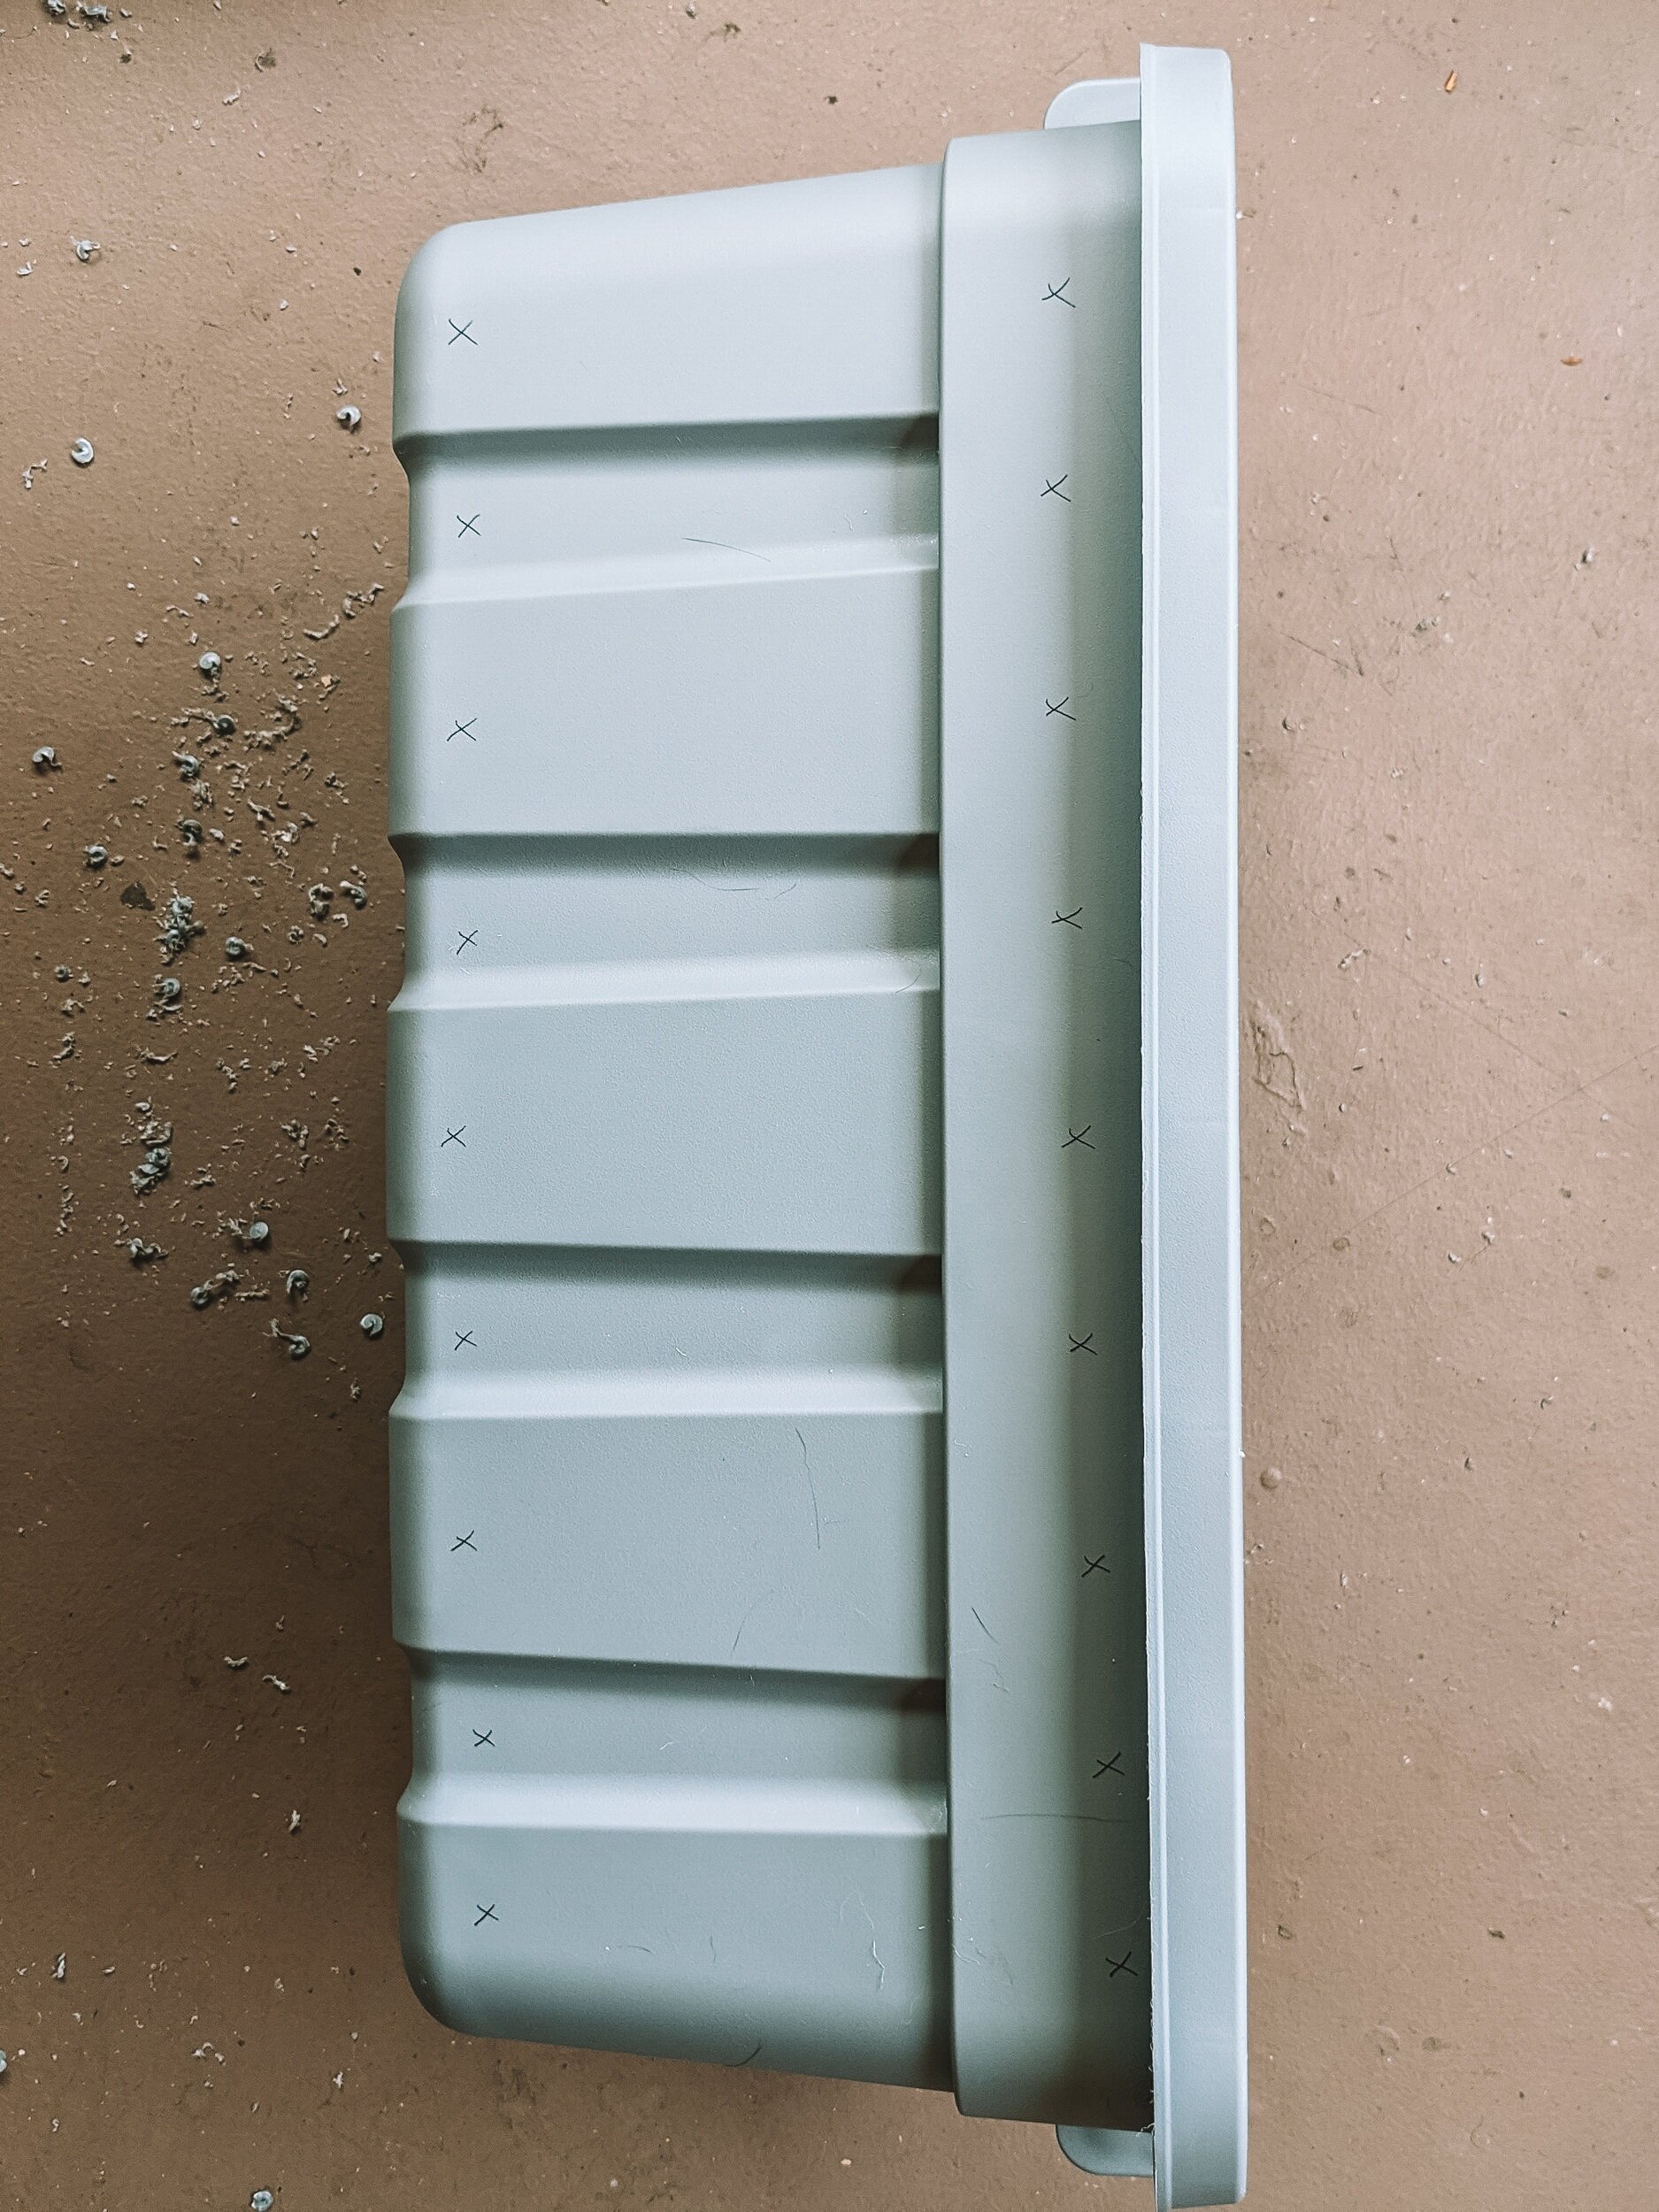
Drill 1/16” holes along the top & bottom Sides of both bins

Drill 1/16” holes in ONE lid

STACK IT:
Bottom - lid with no holes
Middle - bin
Top - Lid with holes

Wet Newspaper & Wring

Fill to 4”

Add a couple handfuls of soil

Add your worms in one corner

After a week, add some scraps. rotate corners each week.
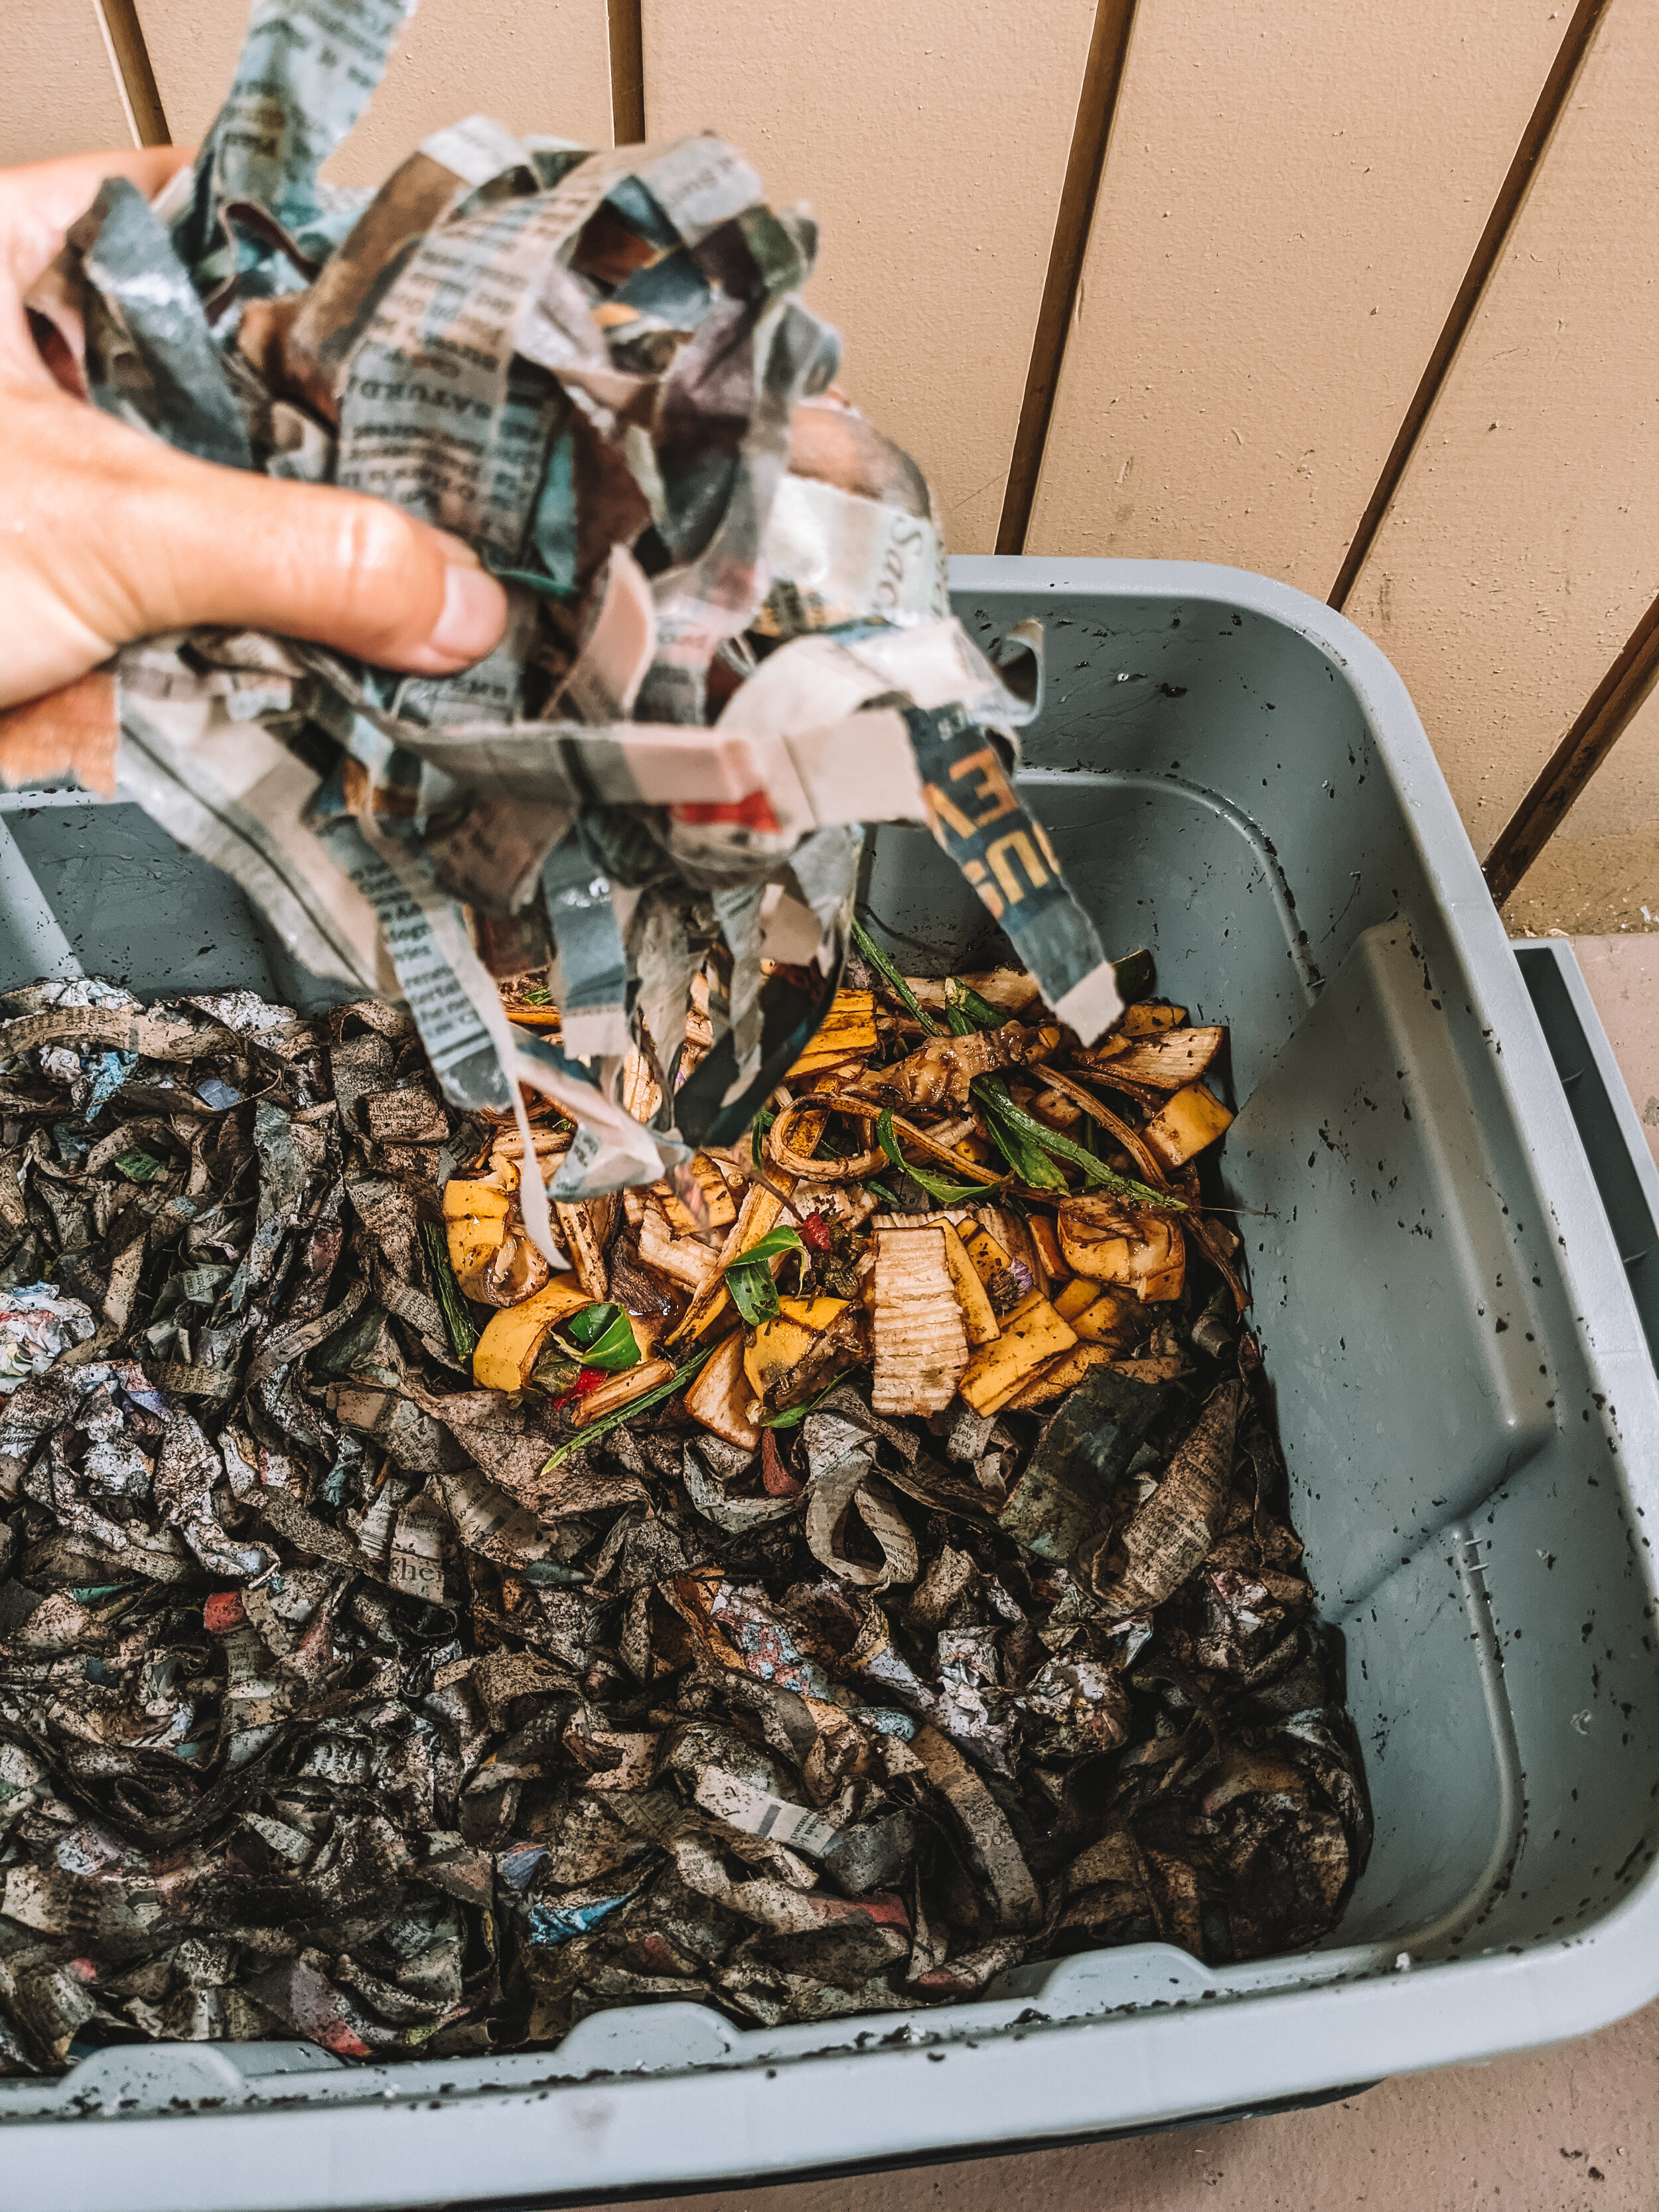
Always bury your scraps and cover with newspaper
TOTAL TIME TO BUILD
1 hour + shopping
TOTAL COST TO BUILD
$63.15
(2) 10-gallon bins . . . $19.20
European red wigglers . . . $18.00
Stainless steel kitchen bin . . . $25.95
WHAT RED WRIGGLERS CAN EAT
Make sure to cut their food into smaller pieces or run it through a food processor. Since worms don’t have teeth, dirt and eggshells add “grit” to help them digest food.
DO FEED: non-acidic fruits and vegetables, cardboard, shredded newspaper, egg cartons, coffee, tea (we’ve heard some teabags contain microplastics so be wary), leaves, dye-free flowers, grass clippings, cleaned and crushed eggshells or crushed Tums if you don’t eat eggs. Pretty much any soft plant material is good game.
FEED IN MODERATION: white paper, and plain pasta, rice, bread, and potatoes.
DO NOT FEED: citrus, meat, dairy, oily or greasy foods, spicy or acidic foods, canned or processed foods, pet waste, glossy paper. Avoid anything too woody or hard.
When in doubt, just remember that worms are VEGAN and they like prep scraps, not plate scrapings.
TROUBLE-SHOOTING
Things are starting to get a little stinky. Most likely you’re overfeeding your worms and food is rotting quicker than they can consume. Check to see if they’ve finished working through most of their food before feeding them again and adjust the amount accordingly. As they start to reproduce, they’ll go through their food more quickly. Things might also be too wet so make sure to thoroughly wring out your bedding before placing inside and consider adding more ventilation holes.
My worms are trying to get out of my bin! If it’s just 1 or 2 worms you’re fine, but if you see the bulk of them trying to flee, there might be a serious problem. There could be a few reasons for this. The contents of the bin should always be damp but not dripping wet. If it’s too dry, they’ll dry out, and if it’s too wet, they’ll drown. They could also be starving, so check to see how quickly they’re finishing their food. If they’re gathering near the top, the bedding might be too dense and you should consider better ventilation. And make sure they’re always at a comfortable 54 to 84 degrees Farenheit. (NOTE: if you notice them gathering in a ball before a storm, this is normal behavior so don’t fret!)
Pesky fruit flies are starting to appear. Make sure you bury your food scraps well, and always cover with newspaper when adding new contents. You can also lay a sheet of cardboard directly over the bedding.
Compost is falling out the bottom holes. To keep things more contained, you can lay some plastic mesh or nylon over the bottom holes. Do not use metal as it will rust.
WHAT TO DO WITH YOUR COMPOST
Are you a plant lover with a billion houseplants? They will LOVE your worm castings. Just sprinkle them on top of or mix into soil and water regularly. If you don’t have any plants, gift it to friends who grow things, befriend some neighbors, or check if there’s a community garden or local farm nearby you can donate to.
Let us know how your compost is doing! Tag us in your posts on Instagram @opuseventsco. Happy composting!
SUPPORT & REFERENCES:
1) The Urban Homestead by Kelly Coyne and Erik Knutzen, pg 51 - 55
2) “Compost Infographic” Institute for Local Self-Reliance
3) “What Can Red Wrigglers Eat” The Squirm Firm
4) “Composting with Worms: Don’t Make These Five Mistakes” Uncle Jim’s Worm Farm
5) “How to Create and Maintain an Indoor Worm Composting Bin” EPA
6) “Worm Composting 101” Planet Natural
7) “Decomposers” National Geographic

Love in the Time of COVID
In a time of so much uncertainty, elopements are quickly becoming a popular alternative to larger weddings this year.
When Malikah Kelly contacted us to help plan her last-minute elopement, we knew we had to do everything possible to make their big day happen. They, like many other couples, had to cancel their original plans to get married in another state. We were heartbroken when we heard their story, and immediately set out to make their dream ceremony come true!
On a beautiful spring day in Los Angeles, the couple said their I Do’s framed by blooming wisteria flowers. Their intimate garden wedding was attended only by them, the officiant, and the photographers. With so many businesses closed and social distancing a priority, our fashion-savvy bride did her own hair and makeup, arranged her own bouquet, and even baked her own cake!


Plenty of larger celebrations are being pushed into next year, and we love the idea of eloping or having a legal ceremony for the time being. It’s budget-conscious, more earth-friendly, and it’s personal. Here are some things to keep in mind if you’re setting out to have your own small wedding this year:
Make sure to check when your county registrar, recorder & clerk office re-opens for marriage licenses. Many locations have online applications available. In fact, California just issued an executive order that allows couples to obtain their marriage license via video conferencing.
Support small businesses that need your help at this time. That includes local florists, photographers, pick-up for catering or restaurants, and non-profit venues like botanical gardens. If you’re having your wedding in a public area, make sure to check with your city’s guidelines on public gatherings and if you will need any permits.
Consider live streaming or video recording your ceremony to share with loved ones. Documenting your big day is more important than ever, and it’s an easy way to include those that can’t travel during this time.
If you’re having a larger celebration later on, remember to send those save-the-dates! It’s important to keep the lines of communication open with your guests, and their feedback is going to help guide you with any major decisions you need to make later on.
We hope everyone is able to celebrate responsibly out there, and always feel free to reach out if you have any questions or need some help. It’s amazing to witness love persevere despite everything going on, and we love seeing good news right now!
xoxo,
Belinda

Virtual Happy Hour
Cocktail recipes with Austeriti eco bar company
If you missed any of our IG Live happy hours with eco bar company Austeriti, we’ll be posting their delicious cocktail recipes here after our live streams!
MEZCAL DRINKS
SMOG CUTTER
- 3/4 oz Del Maguey Vida Mezcal
- 1 cucumber slice, muddled
- fresh lime juice
- ginger beer or ale for sweetness
- top with mexican lager or sparkling water
SPICY MEZCAL MARGARITA
- 1-1/2 oz Del Maguey Vida Mezcal
- organic jalapeno, muddled
- 3/4 oz fresh squeezed lemon juice
- 3/4 oz orange juice
- sugar or honey to taste
- Tajin/chili salt for rim of glass
MINT DRINKS
STRAWBERRY RHUBARB MOJITO (VODKA)
- 1-1/2 oz Fair Quinoa Vodka
- diced organic strawberries
- sliced rhubarb stalk
- organic mint
- 1 oz fresh squeezed lemon juice
- 3/4 oz simple syrup or honey
- ice
Blend & serve as a slushie!
WHISKEY SMASH
- Johnny Walker Black Label Scotch Whisky
- fresh mint
- 1 lemon, cut into wedges and muddled
- sugar or honey to taste
- mint sprig to garnish
CBD & MOCKTAIL DRINKS
GINGER BERRY SPRITZ (spirit free)
- fresh ginger, muddled
- fresh or defrosted berries of choice, muddled
- fresh squeezed lime juice
- Seedlip botanical
- sugar or honey to taste
- 1 dropper full of Koi CBD oil tincture (1000 mg)
- top with sparkling water
PEACENIK (spirit free)
- organic pear or apple, muddled
- fresh squeezed lemon juice
- organic cranberry shrub (can substitute with 100% cranberry juice + apple cider vinegar)
- organic rosemary
- organic cinnamon
- sugar or honey to taste
- top with sparkling water
COFFEE & TEA DRINKS
COLD BREW ARNOLD PALMER (spirit free)
- leftover coffee or cold brew
- fresh squeezed lemon juice
- sugar or honey to taste
- water if it’s too strong
- organic mint
THE EARL GREY
- 4 oz Wilder Gin *
- Earl Grey tea bag
- 3/4 oz lemon juice
- 3/4 oz simple syrup or honey
- egg white
* to infuse gin, let earl grey steep in gin one hour before making
PALATE CLEANSERS
FRENCH KISS
- 1 oz Wilder Gin
- 1 oz Vya Dry Vermouth
- 1 oz Vya Sweet Vermouth
- garnish with a maraschino cherry
BITTERS & SMOKE
- 1-1/2 oz Ventura Spirits Amaro Liqueur
- 1/2 oz Tequila
- 1/2 oz Del Maguey Vida Mezcal
- grapefruit peel to garnish
Belinda's Favorite DIY Products
Our favorite homemade beauty regimen products & plant care tips!
Happy Earth Day!
April has been our month to try some new sustainable practices at home, so I thought I would share my favorite household DIY recipes, mainly beauty regimens and plant care. All the ingredients should be easily accessible at a nearby store, or you can check if your local refill station is currently doing pickup or delivery during this time. All of these recipes & tips have been tried and true by yours truly!
BEAUTY REGIMENS
FACE WASH
1/4 cup castille soap
1/4 cup raw honey
2 tbsp sunflower seed or grapeseed oil (or non-comedogenic oil of choice - I’ve recently been using squalane oil I was gifted)
1/2 cup distilled or boiled water
optional: 3 drops black seed oil or tea tree oil to treat acne
* Mix in a bottle with a pump. Shake well before each use. A little bit goes a long way and this face wash should last several weeks!
TONER
3 parts witch hazel
1 part rose water
* Mix in a small bottle. You can spray this directly onto your face or apply with a reusable cotton pad. I like to use this twice a day - before applying makeup in the morning and in the evening between washing my face and moisturizing.
CLARIFYING HAIR CONDITIONER
1 part apple cider vinegar
1 part water
* Mix in a small spray bottle. After shampooing, spray liberally at the roots and let sit for a few minutes. Rinse thoroughly - it shouldn’t leave a smell!
DEEP CONDITIONING HAIR MASK
1 - 2 tbsp of gently melted organic coconut oil
1 - 2 tbsp of raw honey
1 raw egg
1 tsp of cinnamon powder
* Mix until well blended. Apply on damp hair in sections, starting at the ends. To get everything coated evenly, I typically use a wide-tooth comb to brush through after applying. Let sit for 1 - 2 hours then rinse thoroughly. I recommend using this hair mask once a month or as needed. FYI this mask smells DELICIOUS!

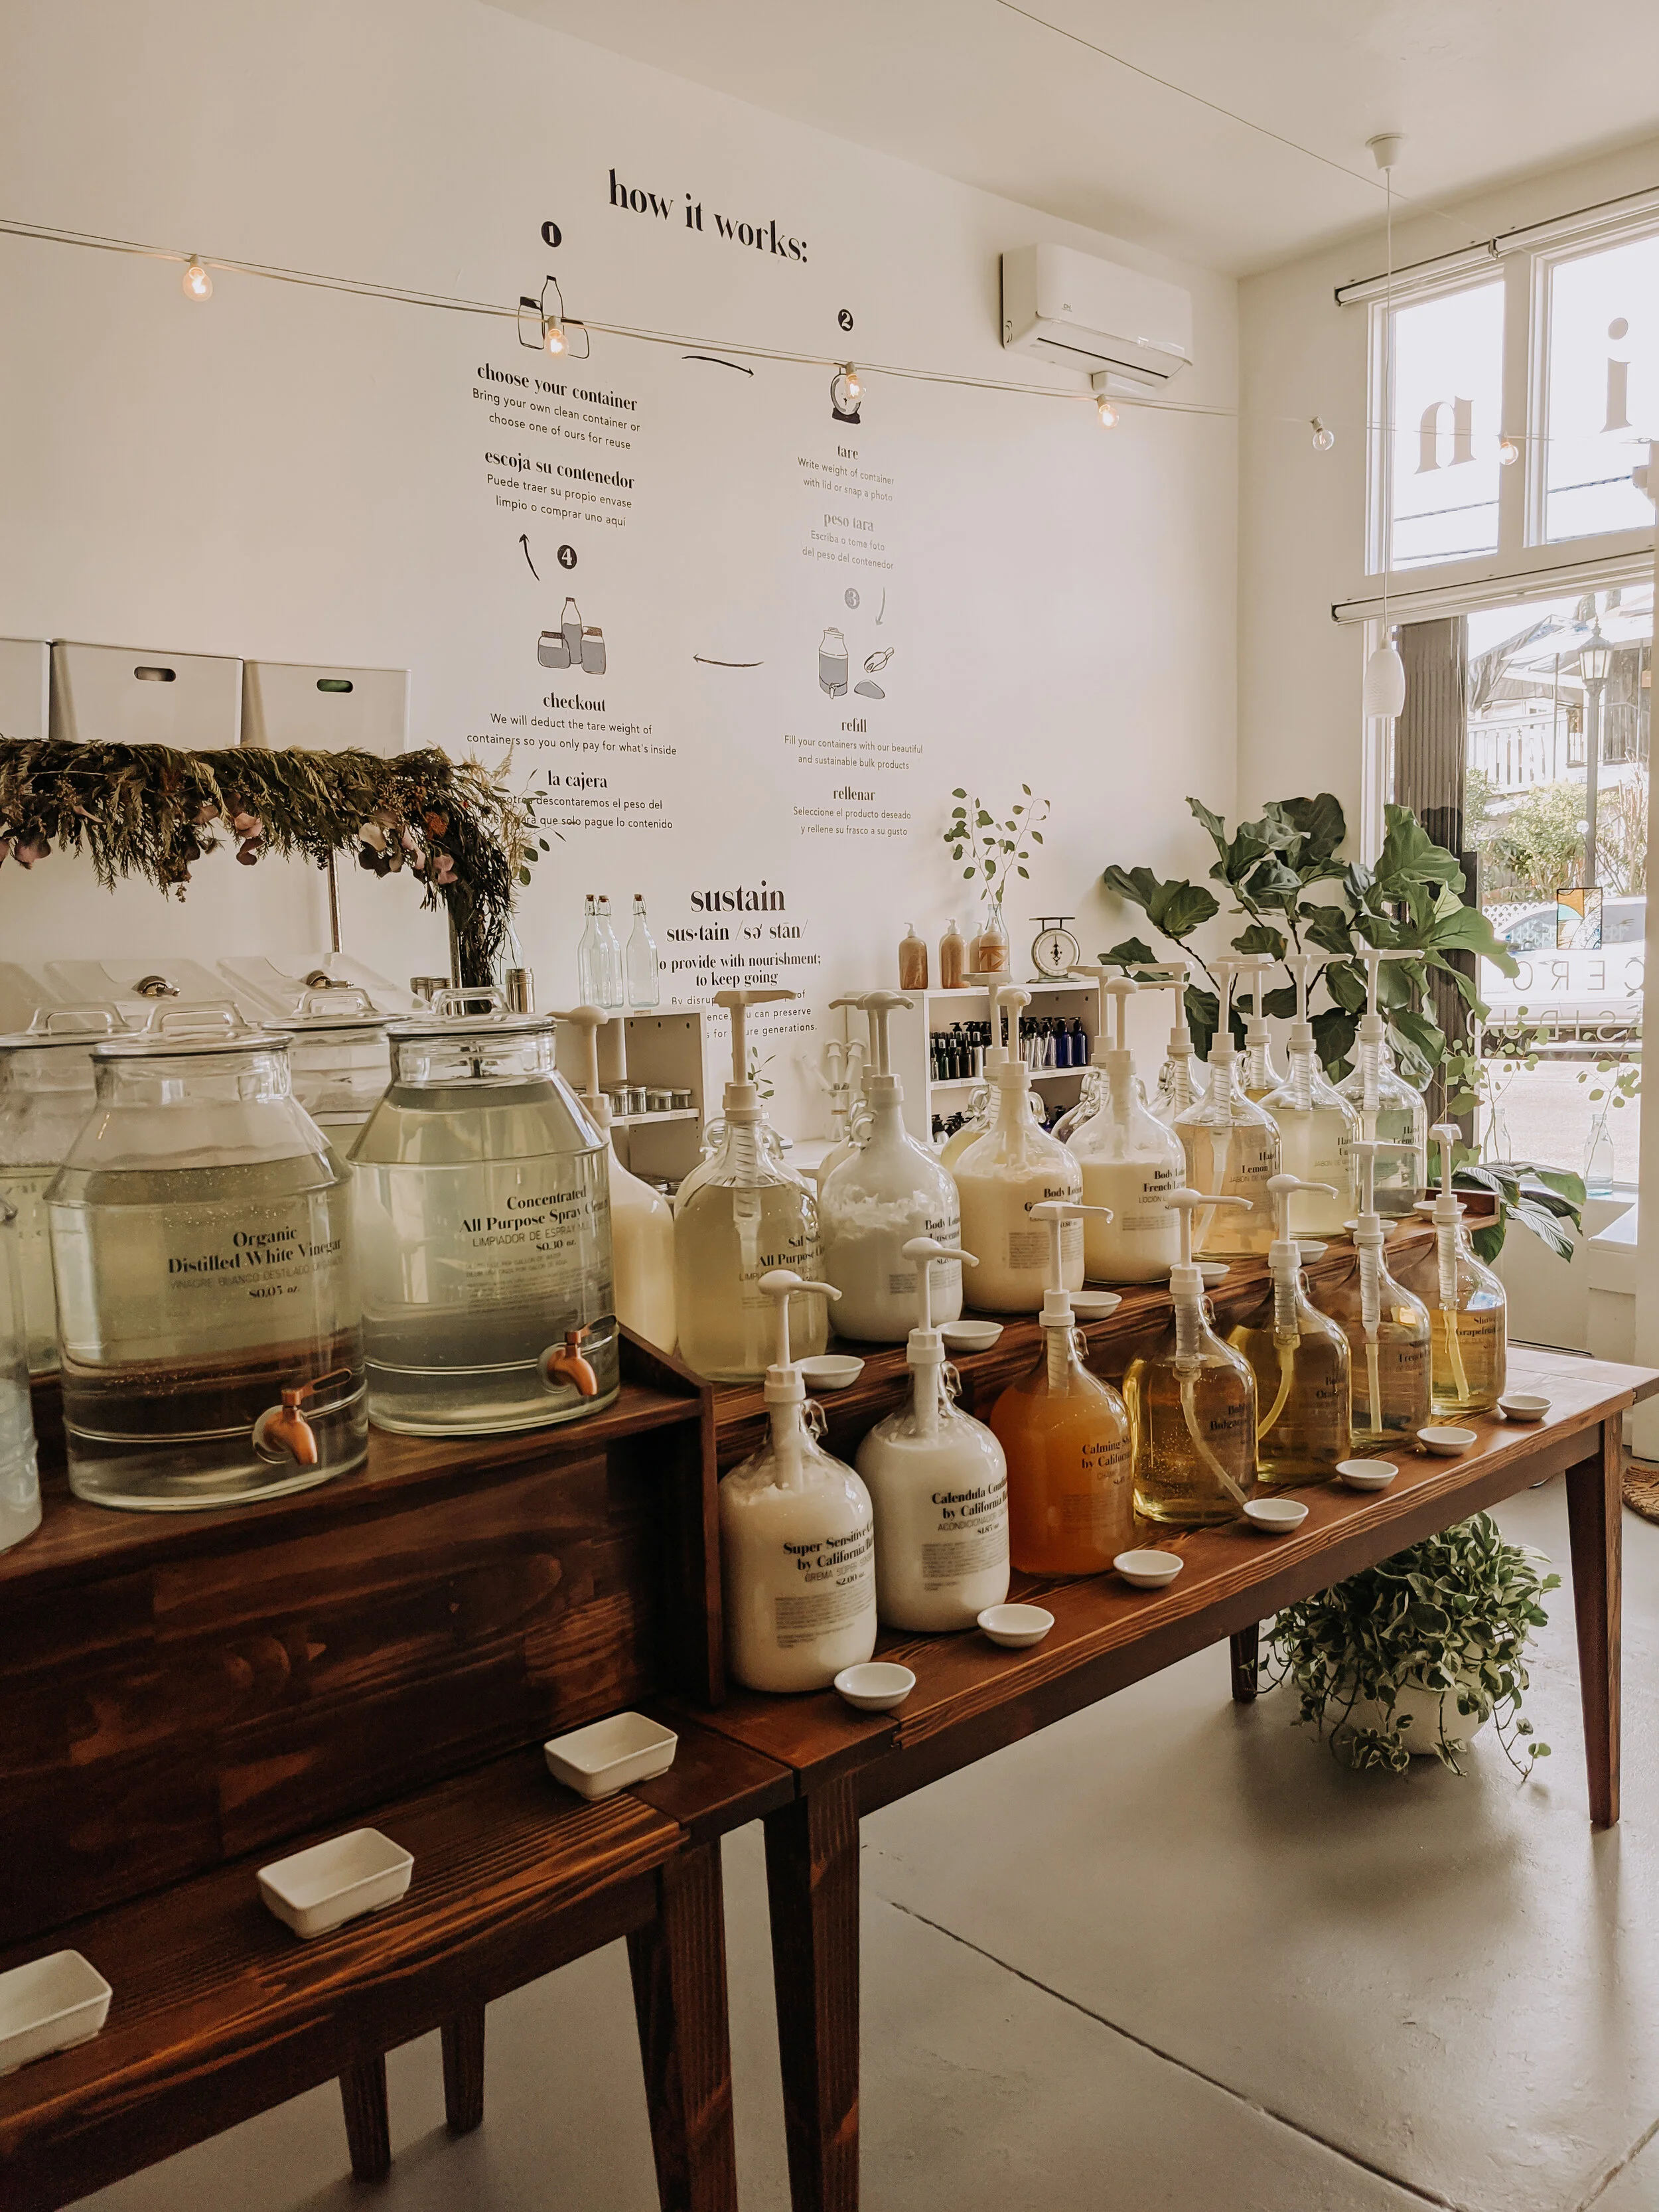
Our local refill station - Sustain LA in Highland Park
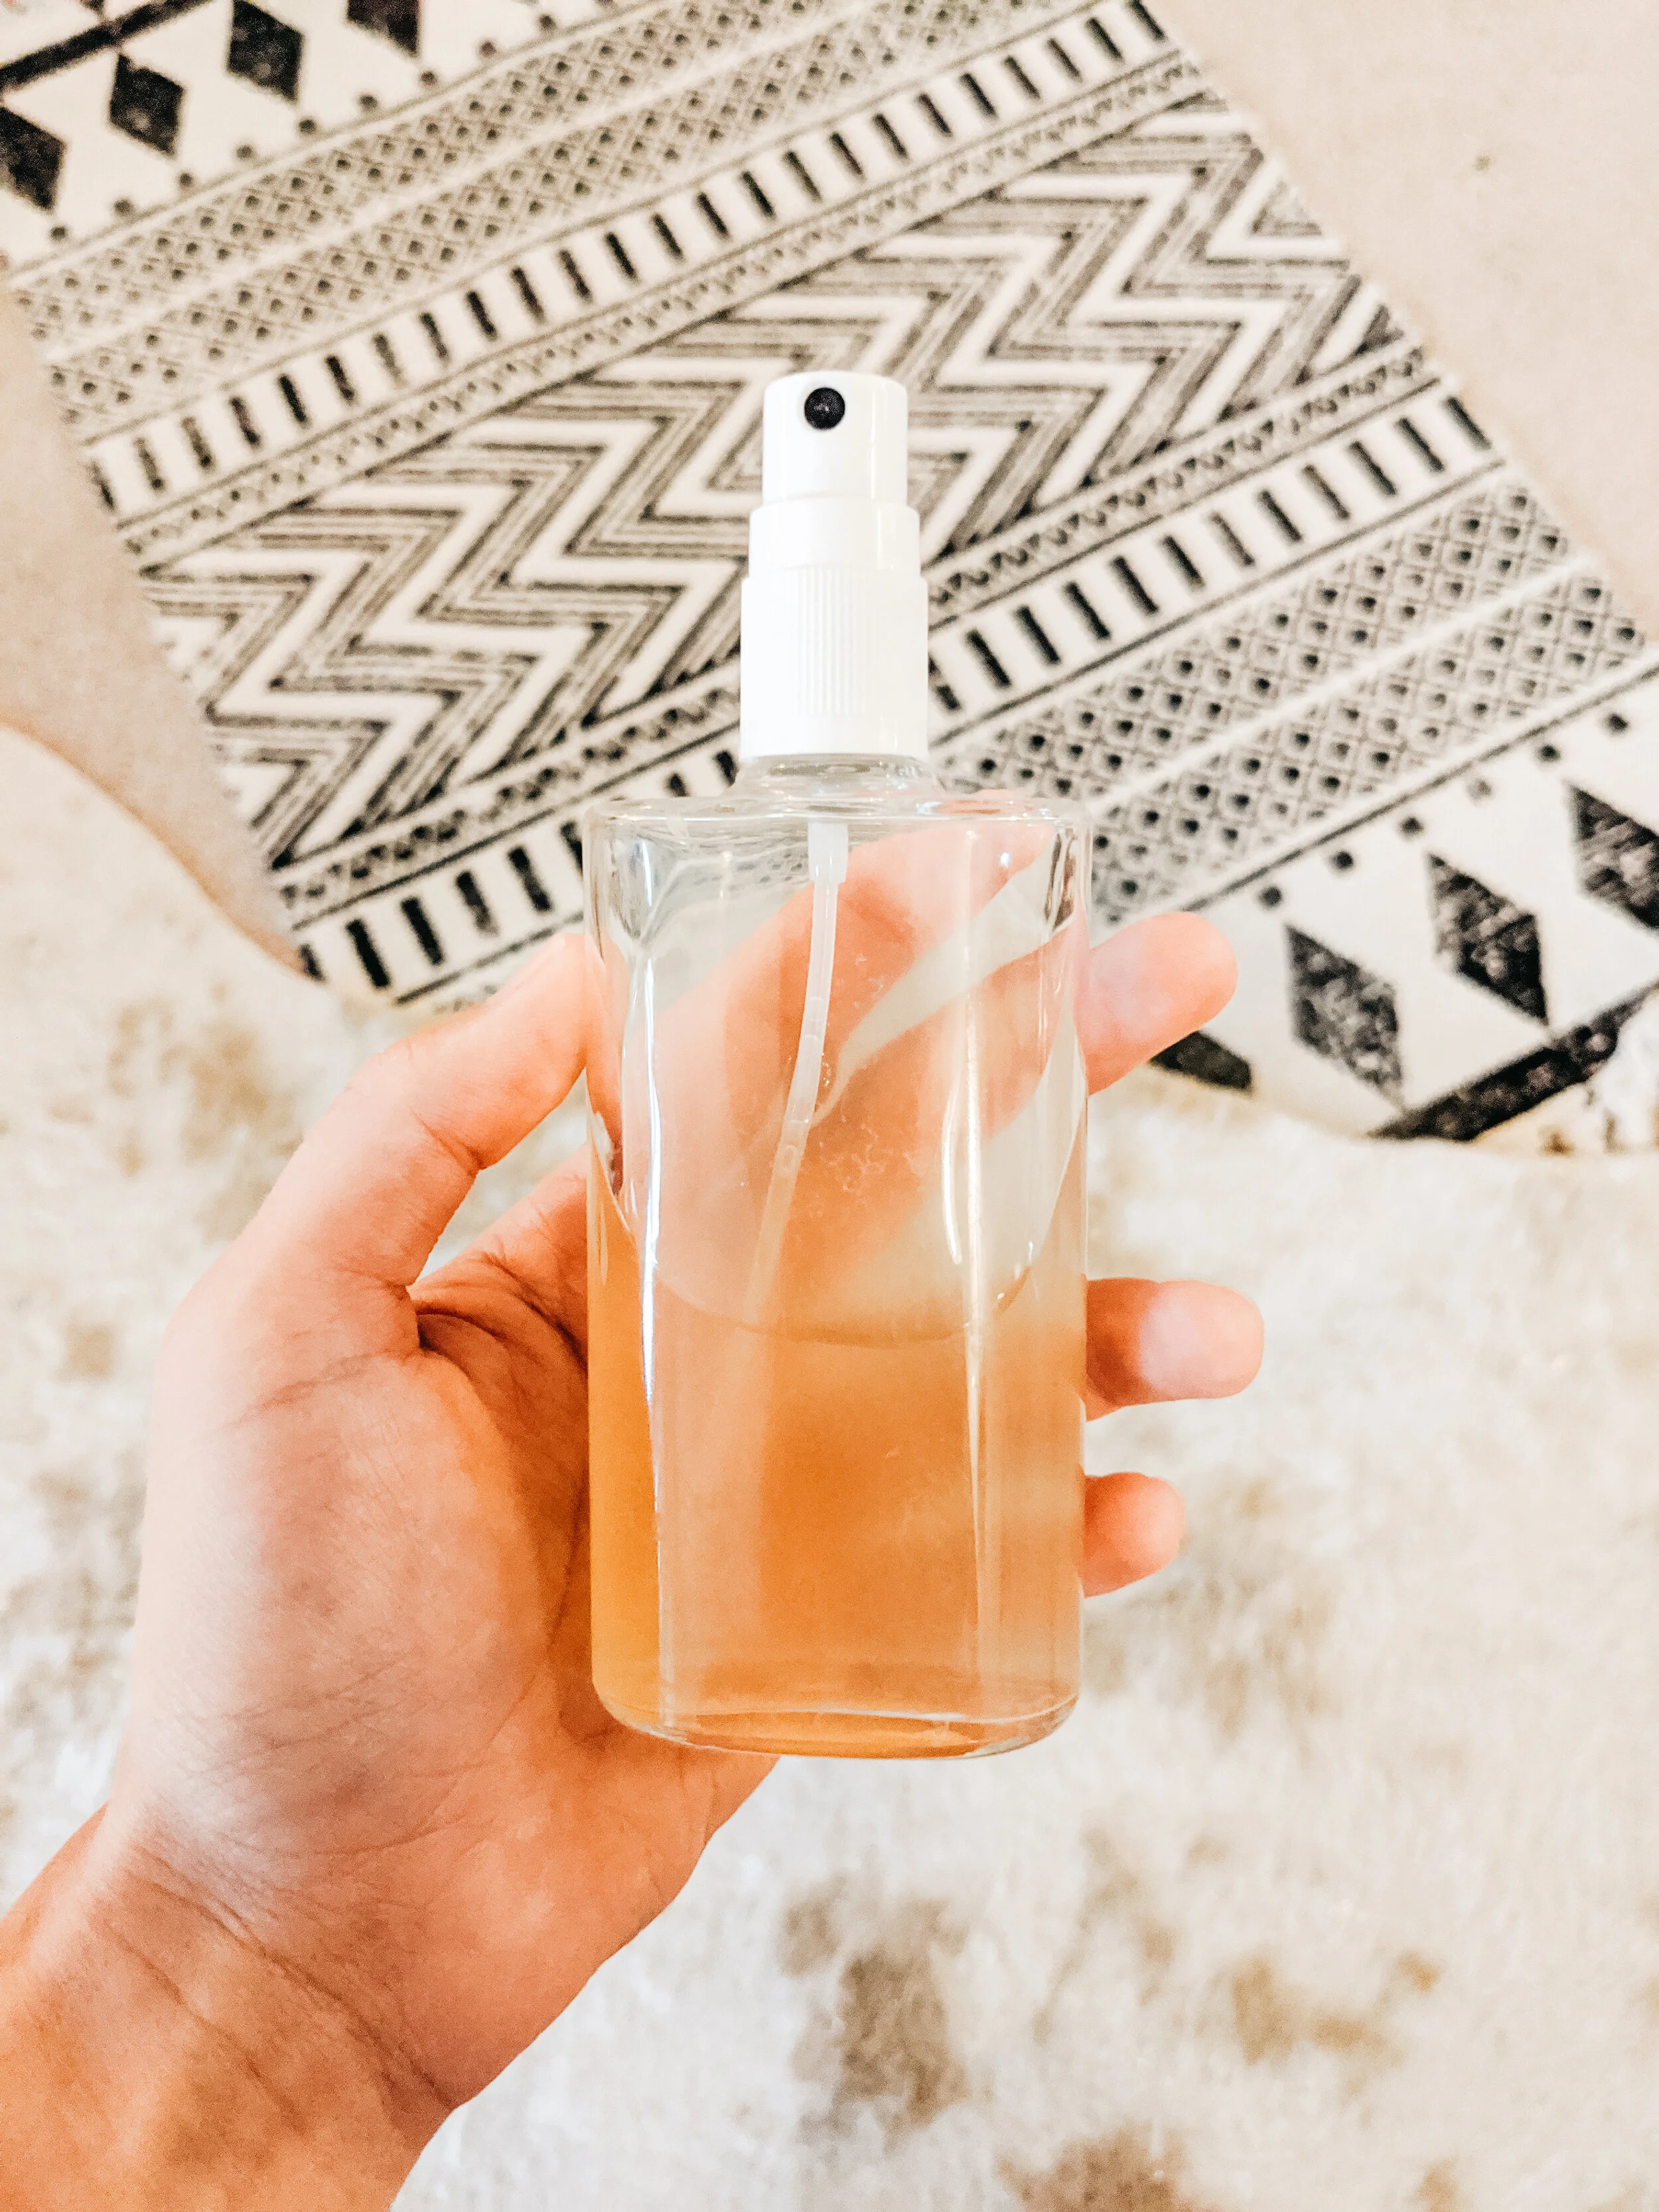
DIY clarifying hair conditioner
TIPS FOR HOUSEPLANTS

Propagating our swiss cheese monstera
Honing your green thumb? Try these nifty tips to make those babies thrive!
Have a problem with root rot? Sprinkling cinnamon on your plant’s soil or watering with a cooled cinnamon tea can fight fungal infections and disease. This is great for seedlings since their soil needs to be consistently damp for germination.
You know that water you toss after rinsing your rice? Try soaking your orchid roots in rice water for an extra boost. We recommend soaking for an hour once a week to replace regular watering. Make sure to let everything drain before placing back in its original pot.
Struggling with pests? Treat them with a homemade spray of 1 quart of water + 1 tsp neem oil + a few drops of dish soap. Shake well before spraying on leaves (don’t forget the undersides!), stems, and soil. You’ll have to make this before use because neem oil breaks down in a few hours when exposed to sunlight. The best time to apply is early evening to prevent sunburn on delicate plants. Reapply every 1 - 2 weeks until pests clear up!
Do your plants need a little bit of fertiilzer? Some our favorite household items turned plant food include organic coffee grounds, leftover tea, diluted molasses, epsom salt, and egg shells.
And if you live somewhere rainy, the most nutritious way to hydrate houseplants is rainwater! When the forecast looks a little gloomy, just set out a few buckets, watering cans, tupperware, or whatever vessels you can get your hands on, and collect away.
If you end up trying any of these recipes and tips, let us know what you think! We’d love to hear your thoughts and feedback.
xoxo,
Belinda

The BEST Vegan Chocolate Chip Cookies
We guarantee you won’t be disappointed by this recipe!
Are you getting into the baking spirit like millions of others who are stuck at home? We have the perfect cookie recipe shared with us by Pink Salt Cuisine that’s not only DELICIOUS but also vegan (which means you can eat it “raw” too!). While this recipe calls for chocolate chips, the dough base is perfect for any vegan cookie and you can basically toss in any topping you’d like (Oreos anyone?).
VEGAN CHOCOLATE CHIP COOKIES

INGREDIENTS
2 cups (9 ounces/250g) all-purpose flour
1-1/4 cups (9.35 ounces) tightly packed dark brown sugar
1-1/2 tsp baking powder
1/2 tsp baking soda
1 tsp kosher salt
1/2 cup (4 ounces) coconut oil, melted
1/3 cup (3.15 ounces) unsweetened creamy natural almond butter
6 tbsp (3 ounces) water
2 tsp pure vanilla extract
10 oz vegan chocolate chips or coarsely chopped from a bar (at least 70% cocoa)
DIRECTIONS
Preheat oven to 350 degrees. In a large bowl, combine all dry ingredients except chocolate chips. In a separate bowl, mix together all wet ingredients. Incorporate half the wet ingredients into the dry bowl, mix by hand, then finish incorporating the rest of the wet ingredients. Throw in chocolate chips or other toppings and combine. Using a spoon or ice cream scoop, portion out 1 - 2 inch balls onto a cookie tray. Bake for 10 - 12 minutes and let cool on a rack before eating. For a little more oomph, you can sprinkle some coarse sea salt on top before baking.
Enjoy and welcome to your new cookie habit!